Spiritfarer Fermentation Guide: Everything You Need To Know
This post may contain affiliate links. If you buy something we may get a small commission at no extra cost to you. (Learn more).
You can ferment a total of four items in Spiritfarer using the cellar, namely:
- Herring
- Cabbage
- Milk
- And Yoghurt
Once fully fermented, these become different food items that you can add to a number of dishes in the game.
That said, the entire process starts long before you can build the actual cellar.
As such, this guide will tell you everything you need to know about fermentation, building the cellar, and everything else in between.
Boat Improvement & Building the Cellar
Before you can ferment anything, you need to build the Cellar in Stella’s ship, which in itself comes with a few prior requirements.
Let’s get started:
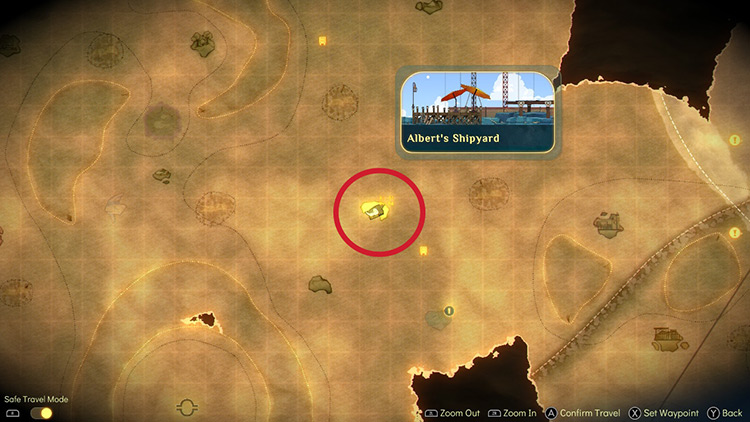
Our journey starts by visiting Albert’s Shipyard, where you can purchase all of the game’s upgrades. If you ever lose track of him, his shop is found at the coordinates: X: 61, Y: 64, near Alt Harbor.
Note: In case you want to, you can also reach Albert’s Shipyard by traveling to its nearest Bus Stop, with the coordinates X: 77, Y: 51.
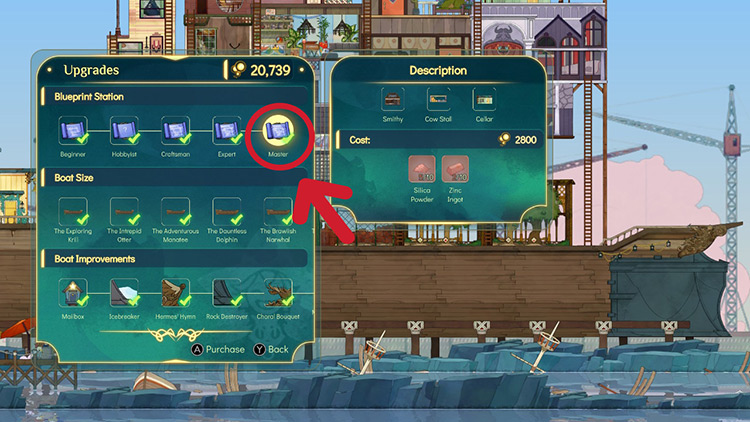
Once you’re there, look for the Master blueprint upgrade in the Blueprints section, which is the final one you can get in the category.
But since it’s the fifth upgrade, you will need the previous ones as well.
This can be a lengthy process – so here’s what you’ll need to make the process a tad faster:
| Blueprint Upgrade | Materials | Cost |
|---|---|---|
| Hobbyist |
|
400 Glims |
| Craftsman |
|
1,000 Glims |
| Expert |
|
1,850 Glims |
| Master |
|
2,800 Glims |
After getting the Master blueprint upgrade, you should unlock the last three buildings:
- The Cow Stall
- Smithy
- And last but not the least, the Cellar
Note: Depending how far your progress is, Stanley the spirit will introduce you to the Cellar during the “It’s Alive!” request. You can build it before then as long as you have the necessary upgrades.
After unlocking the cellar, you can build it with these requirements:
- 20 Linen Fabric
- 3 Comet Rocks
- 10 Bottled Ectoplasm
Simply go to Stella’s blueprint station above her cabin and look for it under the production buildings. From there, it’s a matter of picking a spot on the ship to place it.
It’s also worth noting that like most of the other buildings in this game, you can build more than one cellar. However, the base cost increases up to the fourth copy.
How Fermentation Works (Cellar Minigame)
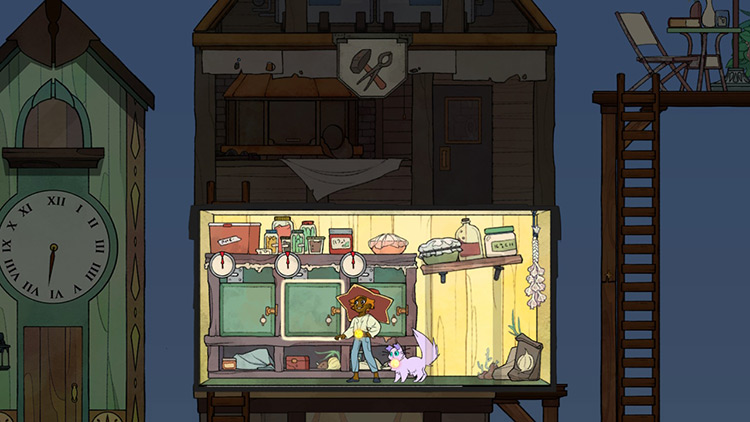
To use the cellar, have Stella standing in front of any of the three compartments inside.
Then, interact with the compartment to place up to five pieces of a certain food item inside.
Once an item is inside, a timer will appear on top of the compartment, indicating how much time is left before the fermentation (aging) process finishes.
Different food items have varying lengths in terms of aging, but interacting with the compartment before the process is complete de-ages the food and puts it back in Stella’s inventory.
Once the aging process finishes, the timer will go off, and a notification will show up if Stella isn’t near the Cellar. In case you leave the fermented food item for too long, it will become a non-edible Expired Meal, and you will have to repeat the process all over.

Here are the food items you can put inside the cellar compartments, and what they will output after getting fermented.
| Food Item | Fermented Result |
|---|---|
| Herring | Surstromming |
| Cabbage | Sauerkraut |
| Milk | Yoghurt |
| Yoghurt | Cheese |
Note: While you can make cheese by aging yoghurt in the cellar, leaving milk long enough in the compartment also results in cheese, which is ideal if you have plenty of tasks around the ship but need cheese. Surstromming is also Gustav’s favorite food.
Cellar & Fermentation Process Improvement
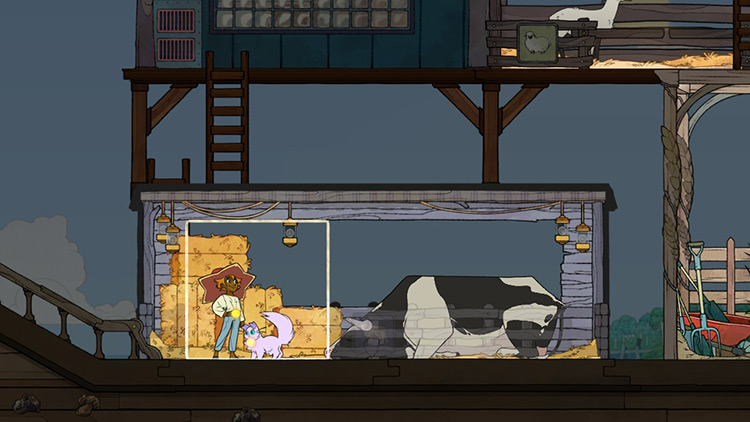
At the base level, each food item you age at the cellar will output one item.
However, there’s an available Cellar improvement that speeds up the aging process and increases that output to two.
The improvement itself can be obtained via a blueprint chest you can find in Misty Woods, located at X: 148, Y: 152, on the map.
Before reaching Misty Woods, however, you first need the “Mist Cleaner 1000” upgrade from Albert’s Shipyard.
You also need to unlock Stella’s abilities:
- “double jump”
- “bounce”
- “zipline”
- “glide”
Once you have all of the requirements, find the blueprint by following these steps:
- Starting from where Stella docks the canoe, go left and use the bounce ability on the tent to reach the cliff above. You’ll need to use the double jump ability in this part as well.
- Once you reach the cliff, you’ll find a zipline pole. Ride this zipline pole and immediately glide after, making sure you land just before the second green tree that you’ll see.
- You’ll know you landed on the right spot if you find metal ore (the kind varies) right on the ground.
- From there, drop onto the left side and glide to a small outcropping right below, where you’ll find a small lamp-post and a blueprint chest. The blueprint inside unlocks the cellar upgrade.
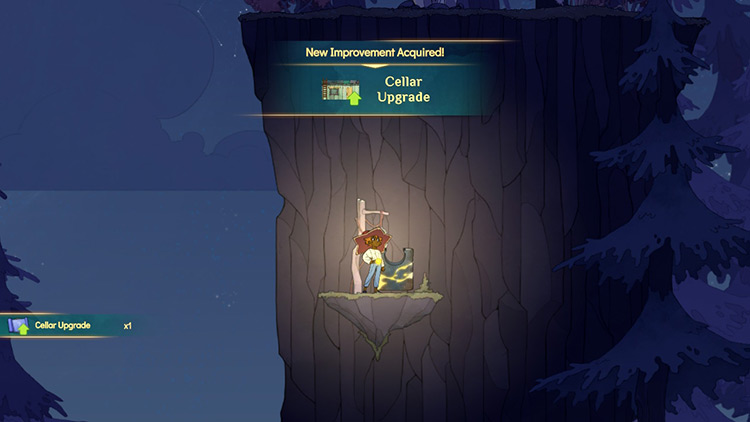
After getting the blueprint, you can upgrade your Cellar with these items:
- 12 Silk Fabric
- 7 Bottled Ectoplasm
- 1 Hematite
- 795 Glims
As mentioned above, this upgrade doubles your cellar output, including aging speed and food items.
